Middletown's #1 Tree Expert Company
FREE Inspection & Estimate | Certified Arborists | Trimming, Pruning, Removal, More!
Sponsored
The Most Common June Call: 'I Pruned a Branch and Now the Tree Looks Wrong'

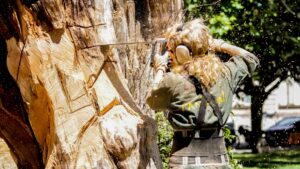
Every June, I get a version of the same call from Middletown homeowners. Someone grabbed a handsaw or a pair of loppers to remove a branch that was shading the driveway, rubbing against the house, or just looked dead — and now they’re staring at a wound that isn’t closing, a stub that’s turned black, or a tear in the bark that runs halfway down the trunk. They didn’t want to hurt the tree. The cut just went wrong.
This isn’t about expertise. It’s about technique. Pruning looks simple from the outside — you’re removing a branch, not doing surgery. But a tree has a specific biological system for sealing off damage, and that system only works if you cut in exactly the right spot in exactly the right sequence. Cut in the wrong place, and you’ve created an entry point for decay that the tree can’t close on its own. In Middletown’s warm, humid June weather, an open wound can start breaking down surprisingly fast.
The good news is that the correct approach — known as the three-cut method — is completely learnable. Most homeowners can safely handle small branch removal (up to about two or three inches in diameter) using this technique without damaging the tree. What follows is exactly how it works and why each step matters.
How Trees Heal: Why Every Cut Is a Wound That Needs the Right Opening
Before explaining the three cuts, it helps to understand what a tree does when you remove a branch — because it’s nothing like what happens when you cut your finger. Trees don’t regenerate tissue. Instead, they wall off the damaged area in a process called compartmentalization: the tree builds chemical and physical barriers around the wound to isolate it from decay organisms, then grows new tissue over the outside of the wound over time. The International Society of Arboriculture details this process and explains why correct pruning cuts are essential to support it.
The key structure in this process is the branch collar — a slight swell or ridge at the base of every branch where it meets the trunk or a larger limb. Inside that collar is a zone of specialized cells that initiates the compartmentalization response. Leave the collar intact, and the tree can wall off the wound. Cut flush with the trunk — removing the collar — and you’ve destroyed the tree’s primary closure mechanism. The wound stays open longer, and decay often migrates into the main stem.
A second structure, the branch bark ridge, runs along the upper side of the branch union as a slightly raised, often darker line of bark. Together, the collar on the underside and the bark ridge on the topside mark the natural boundary where your final cut should land — just outside both structures, never into them. Every proper pruning cut targets this line.
The Three-Cut Method, Step by Step
The reason homeowners end up with torn bark and ragged wounds is simple: they make a single cut and let gravity finish the job. When a branch has any weight to it — even a branch that looks small — it can snap downward before the cut is complete, tearing a long strip of bark off the trunk on its way down. The three-cut method prevents this by removing the weight before making the final, precise cut.
Here is the sequence for any branch large enough to use a pruning saw:
- Cut 1 — the undercut: About 12 to 18 inches out from your final cut point (farther from the trunk than where you’ll ultimately cut), saw upward from the underside of the branch — roughly one-third of the way through the diameter. This notch creates a controlled break point. When the branch eventually drops under its own weight, it tears from this notch upward rather than from the trunk outward along the bark.
- Cut 2 — the top cut: One to two inches beyond the undercut — even farther from the trunk — saw downward from the top of the branch until it falls free. The two cuts meet and the branch drops cleanly, with no long downward tear pulling at the bark. You now have a short stub.
- Cut 3 — the final cut: With no load remaining on the stub, make your finish cut just outside the branch collar and branch bark ridge in a single clean pass. This is the cut the tree will heal from. Its angle should follow the collar line, typically slanting slightly away from the trunk.
For branches under about one inch in diameter — what you’d handle with hand pruners — one final cut is usually enough, since there’s no significant weight to cause a tear. But any time you’re using a pruning saw, use all three cuts.
Middletown's #1 Tree Expert Company
FREE Inspection & Estimate | Certified Arborists | Trimming, Pruning, Removal, More!
Sponsored
Finding the Right Cut Line: Collar, Bark Ridge, and Angle

The hardest part of the three-cut method for most homeowners isn’t the cutting — it’s locating the branch collar accurately. On some trees, it’s obvious. On others, you need to look more carefully.
On oaks (Quercus spp.), red maples (Acer rubrum), and most hardwoods common in Middletown Township yards, the collar shows up as a visible swelling at the branch base. On smoother-barked trees like American beech (Fagus grandifolia) — common in the older wooded sections around Hartshorne Woods and Poricy Park — the collar is subtle enough that you need to run your fingers along the underside of the branch base to feel the slight ridge or angle change. It’s there; you just have to find it.
The branch bark ridge on the topside is usually easier to see: a raised line of slightly darker, sometimes wrinkled bark running along the crotch of the union. Your final cut should begin just outside the bark ridge on the top and angle down to just outside the collar on the bottom. The angle varies by species and branch attachment angle, but following the collar line is more reliable than trying to set a specific degree.
Rutgers New Jersey Agricultural Experiment Station Cooperative Extension offers tree care publications specific to New Jersey homeowners — including guidance on shade tree maintenance by species. If you’re unsure what you’re looking at on a specific tree, photographing the branch union and contacting a Rutgers Master Gardener or a local ISA Certified Arborist is a smart step before making any cut.
Choosing the Right Tool for Each Cut

The tool matters almost as much as technique. Using the wrong tool forces extra passes, puts torque on the blade, or makes you use your body weight — all of which increase the chance of a ragged wound or a dangerous slip.
- Bypass hand pruners: For stems up to about three-quarters of an inch in diameter. These cut like scissors and leave a clean edge on live wood. Avoid anvil-style pruners on live branches — they crush more than cut, which damages the cells the tree needs to compartmentalize the wound.
- Bypass loppers: For branches roughly three-quarters to one-and-a-half inches in diameter. Useful for small dead limbs and lightly loaded live branches. Again, bypass over anvil for live wood.
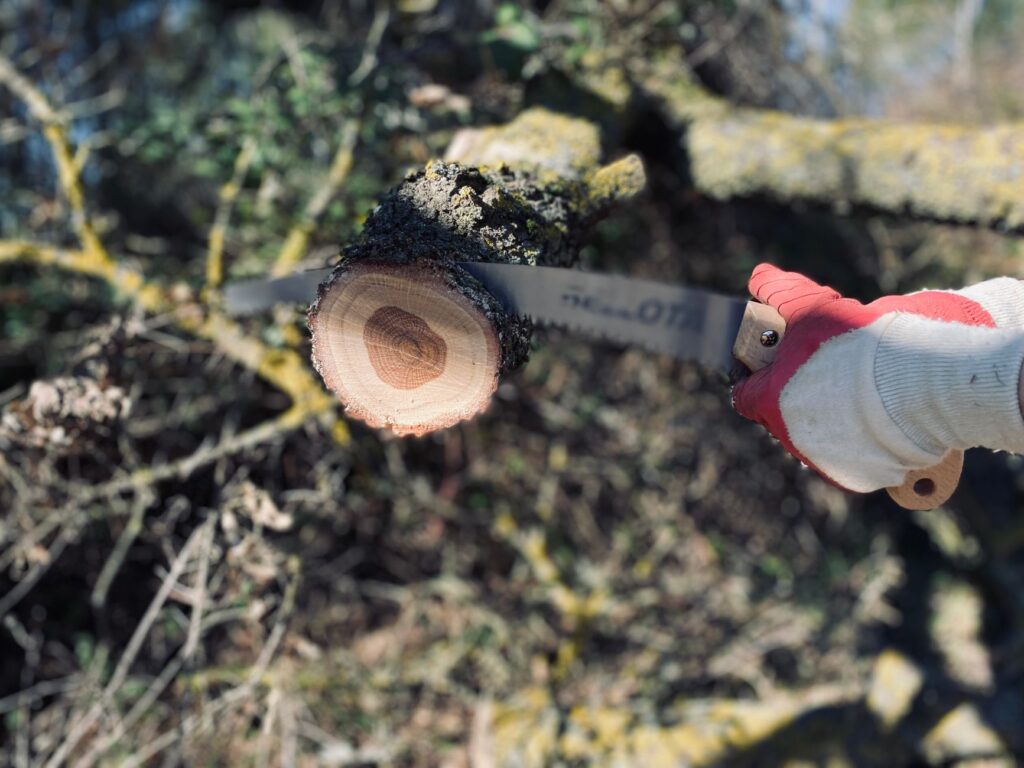
- Pruning saw (folding or fixed-blade): For anything over about one-and-a-half inches where a lopper would bog down or twist. A proper arborist pruning saw cuts on the pull stroke and doesn’t bind in green wood. This is the tool you need for the three-cut sequence.
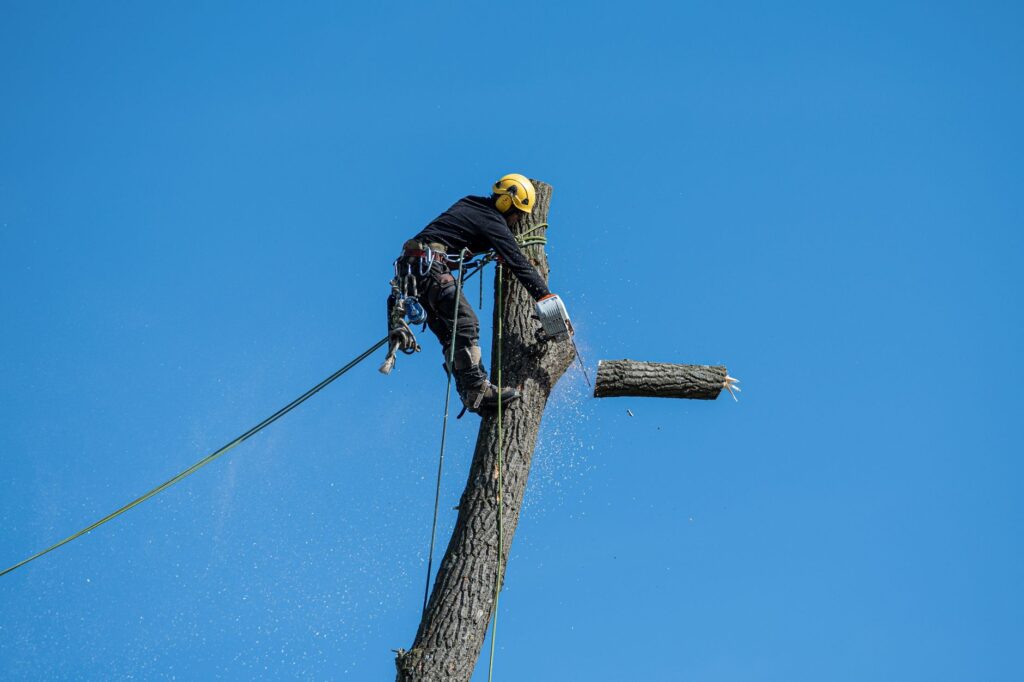
What to leave in the garage: a chainsaw, for most homeowners doing this kind of work from the ground. Not because chainsaws can’t be safe — they can, in the right hands — but because the precision needed for a clean collar cut is very difficult to achieve with a chainsaw on a branch you’re reaching up to from a ladder. The Tree Care Industry Association’s consumer guide is clear that any branch removal requiring overhead work, a ladder, or a chainsaw should be performed by a qualified professional.
The Mistakes That Turn a Clean Pruning Job into a Tree Problem
Knowing the three-cut method doesn’t fully protect you if familiar habits creep in. Here are the most common pruning errors I follow up on around Middletown — in roughly the order I see them:
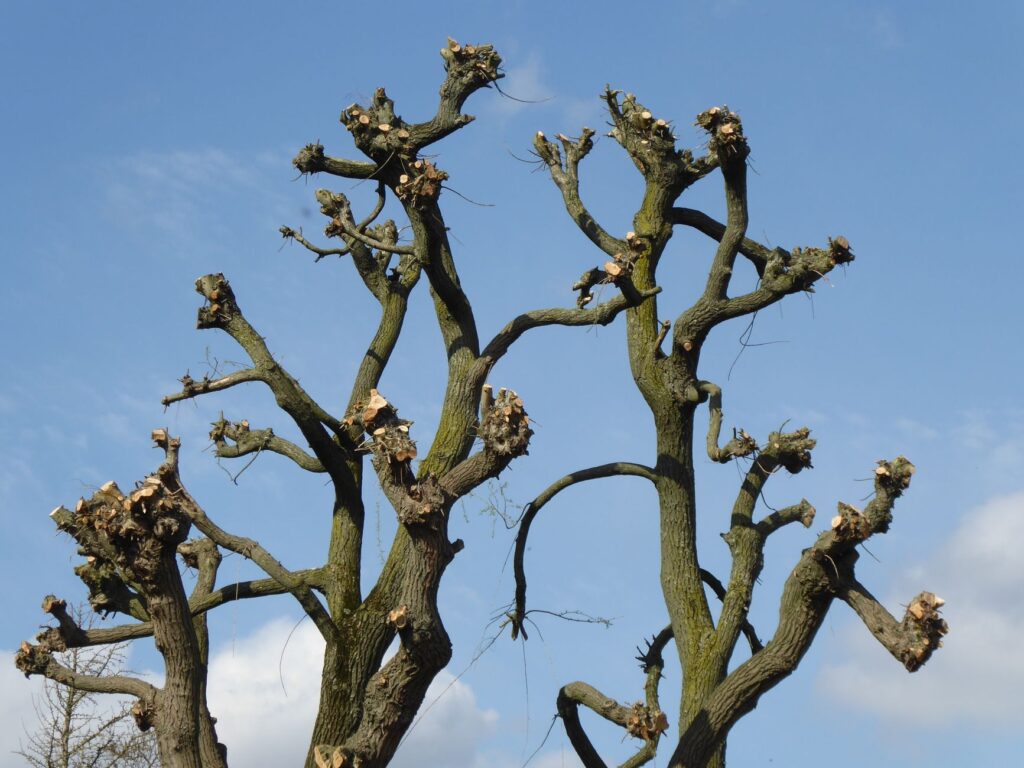
Flush cuts. Cutting flush with the trunk is the single most common mistake. It removes the branch collar and leaves no barrier zone for compartmentalization. The wound often stays open for years and leads to internal decay that progresses into the main stem. It looks tidy to a homeowner — but it’s exactly the wrong cut.
Long stubs. Leaving a stub several inches long is the opposite error. The stub desiccates because the tree can’t push water to it — it becomes a standing entry point for decay fungi. In the heavier clay-loam soils around Lincroft and Hazlet, where drainage is slower and humidity stays high, these stubs tend to decay faster than homeowners expect.
Cutting into the branch bark ridge. If your cut angle is too steep on the top side, you’ll angle into the bark ridge rather than just outside it. The tree’s wound closure response becomes uneven — thick callus on one side, absent or thin on the other — and the wound may never fully close.
Using dull tools. A dull pruning saw tears tissue rather than cutting it cleanly. Torn tissue is harder to compartmentalize than a clean cut. Sharpen your pruning saw and hand pruners at the start of every season.
Applying wound sealant. Decades of research have shown that pruning paint and wound compounds don’t help — and in some conditions can trap moisture and pathogens inside the wound. The arboricultural consensus, supported by extensive USDA Forest Service research, is to let the tree compartmentalize naturally. Skip the paint.
Middletown's #1 Tree Expert Company
FREE Inspection & Estimate | Certified Arborists | Trimming, Pruning, Removal, More!
Sponsored
When to Put the Saw Down and Call a Certified Arborist
The three-cut method, a clear collar line, and the right tool will safely handle most small pruning tasks a Middletown homeowner might take on — removing a small dead limb, clearing a branch that’s rubbing against a gutter, managing crossing branches on a young tree. For branches under about three inches in diameter, from the ground, with good sightlines, most careful homeowners can do this work well.
But there are situations where the right move is to put the saw away. If the branch is over three to four inches in diameter, it’s both heavier and more structurally important than it looks — a miscalculated cut can pull bark off a wide section of trunk or change how weight is distributed through the canopy in ways that aren’t immediately visible. If the work requires a ladder, a chainsaw, or if any part of the branch is within falling distance of a structure, a vehicle, or power lines, bring in an ISA Certified Arborist.
Branches in codominant unions — where two stems of similar size grow from the same point, which is common in fast-growing silver maples and Bradford pears throughout Middletown — deserve a structural assessment before anything comes out. These unions can be holding tension in ways that aren’t visible from below, and removing one arm without evaluating the attachment can actually make the remaining stem more likely to fail, not less.
A certified arborist can also assess the full canopy while on site, identify anything that’s become a hazard through the season, and make all the cuts in a single visit with the equipment and training to do it safely. Sometimes the three-cut method is just the beginning of a longer conversation about your tree’s structure — and that conversation is worth having before a branch makes it for you.
Photo credits: Featured image by Jacky on Pexels; Section 1 by Gary Barnes on Pexels; Section 2 by Timothy Huliselan on Pexels; Section 3 by susana MaRo on Pexels; Section 4 by Usman Younas on Pexels; Section 5 by susana MaRo on Pexels; Section 6 by cottonbro studio on Pexels; Section 7 by Peter Xie on Pexels.