
Middletown's #1 Tree Expert Company
FREE Inspection & Estimate | Certified Arborists | Trimming, Pruning, Removal, More!
Sponsored
The Buried Clue at the Base of Every Middletown Tree
Walk down almost any street in Lincroft or Port Monmouth and you’ll see it: a young shade tree, five or ten years in the ground, that goes straight into the mulch bed like a telephone pole. No taper, no flare, no hint of where trunk ends and root begins. Homeowners rarely notice, because nothing about it looks alarming. There’s no dead branch, no obvious wound, no reason to worry. That’s exactly the problem — a buried root flare is one of the quietest tree killers I see in Middletown Township, and it can take five, ten, even fifteen years to show up as real decline.
August is a good month to check. The tree has pushed a full season of growth, the ground is soft enough to dig without a struggle, and if something is wrong, you still have time to fix it before fall planting and mulching season arrives. All it takes is a hand trowel, ten minutes, and a willingness to get a little dirt under your fingernails.
What a Root Flare Actually Is (and Why It's Not Optional)
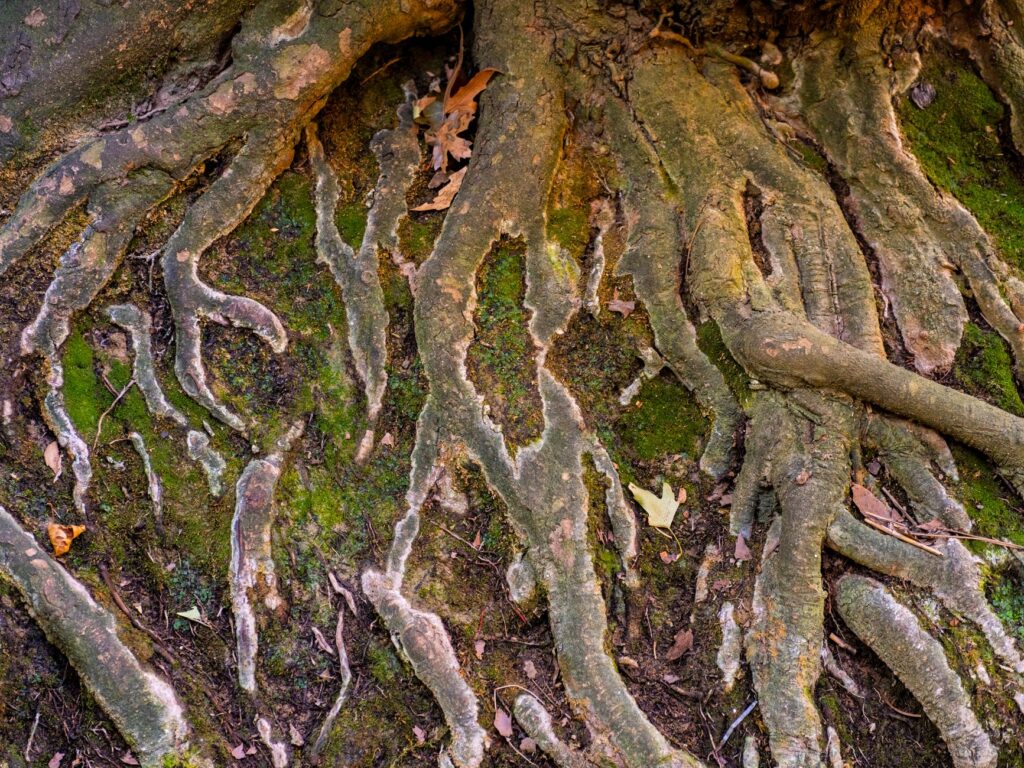
The root flare, sometimes called the root collar, is the widening transition zone where a tree’s trunk spreads out into its structural roots. On a healthy tree, you should be able to see it — the trunk visibly flares outward right at the soil line, like the base of a wine glass, before the first roots disappear underground. That flare isn’t cosmetic. The bark tissue at the trunk is fundamentally different from root tissue: it needs to stay relatively dry and exchange gas through small pores called lenticels. Root tissue, by contrast, is built to live in constant contact with moist soil.
When soil or mulch covers that flare, trunk bark ends up living in the wet, low-oxygen environment it was never built for. According to Rutgers NJAES, that constant moisture eventually kills the inner bark at the base of the trunk, which cuts off the tree’s ability to move water and nutrients between roots and canopy. The tree doesn’t collapse overnight. It just quietly loses vigor, year after year, until a homeowner calls me wondering why a ten-year-old maple still looks like it was planted last spring.
How Middletown Trees End Up With a Buried Flare
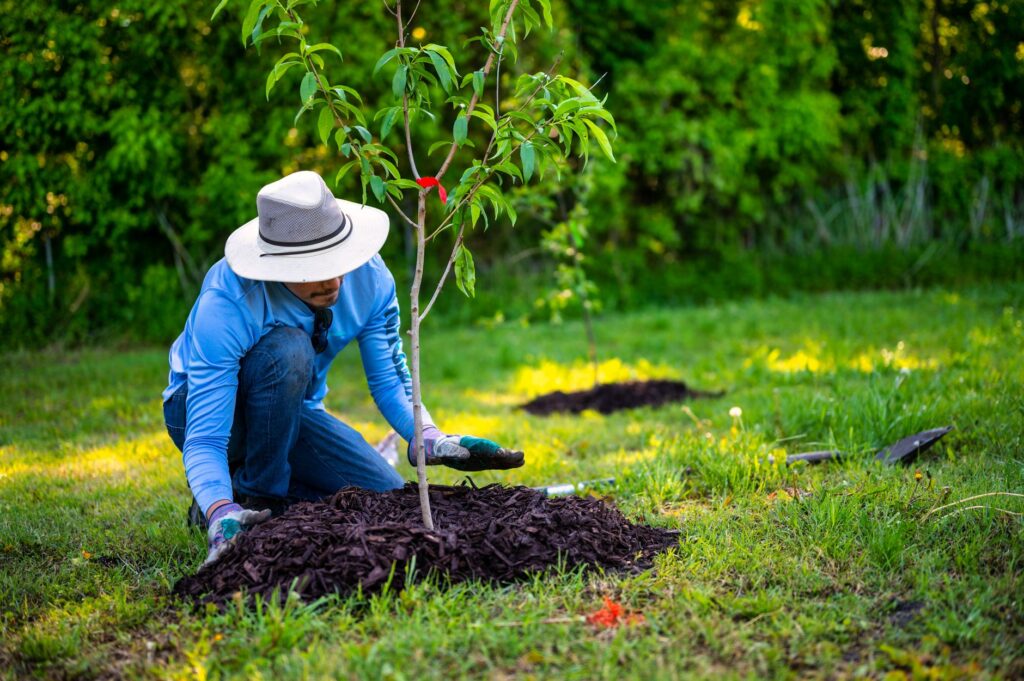
Almost none of this is intentional. It happens in layers, usually over several years:
- Nursery over-potting. Many trees arrive from the nursery already planted an inch or two too deep in their pot or root ball, and the flare is buried before it ever reaches your yard.
- Deep planting at installation. A landscaper digging a hole to match the root ball’s height — instead of finding the actual flare first — can bury it further without anyone noticing.
- Mulch volcanoes. Reapplying two or three inches of fresh mulch against the trunk every spring, without pulling back last year’s layer, slowly raises the grade around the base until the flare disappears under a foot of decomposing wood chips.
- Regrading and topsoil. Adding fill dirt for lawn leveling or drainage work near an established tree can bury a flare that was perfectly visible the year before.
The Tree Care Industry Association has documented plenty of cases where a tree that looked structurally sound above ground turned out to have serious root and collar problems hiding under a mulch bed — problems that only surfaced once someone actually excavated down to the real soil line. You can read a good field example in TCIA’s write-up on root-collar excavation.
Middletown's #1 Tree Expert Company
FREE Inspection & Estimate | Certified Arborists | Trimming, Pruning, Removal, More!
Sponsored
The 10-Minute Root Flare Check You Can Do Yourself
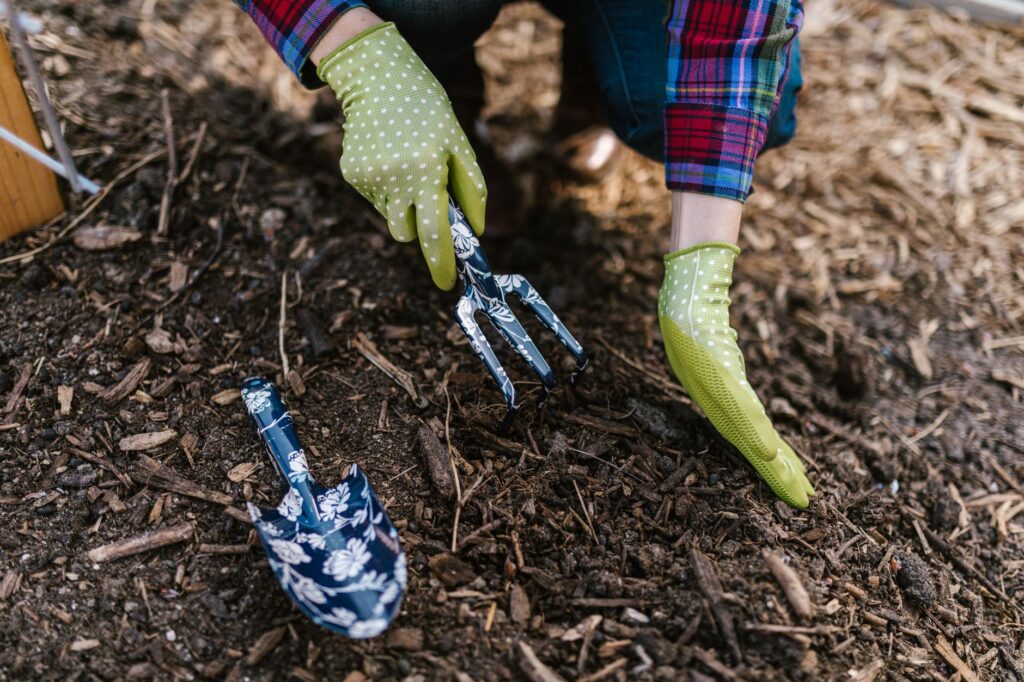
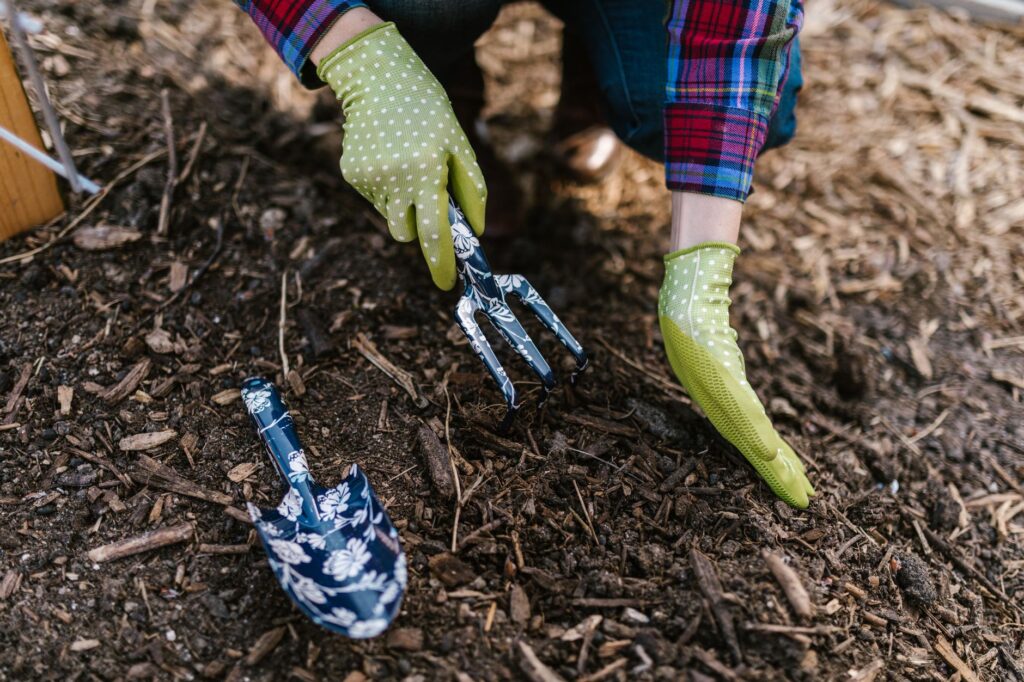
You don’t need special equipment for this — a hand trowel, a soft brush or old paintbrush, and a bit of patience will do. Here’s how I walk homeowners through it:
- Clear the mulch first. Pull back any mulch or bark within 12 to 18 inches of the trunk down to bare soil. Note how thick it was — anything over 3 to 4 inches against the trunk is already a problem on its own.
- Find the trunk’s edge at soil level. Look closely at where the trunk meets the ground. On a healthy tree, you’ll see the bark begin to widen outward before it disappears into the soil. If the trunk goes straight down like a fence post with no visible widening, the flare is likely buried.
- Dig gently at two or three points around the base. Using the trowel, remove an inch or two of soil right against the trunk at a few spots around its circumference. You’re looking for the first major structural root, and for the point where trunk tissue gives way to root tissue.
- Check all the way around. A flare buried on one side but visible on another usually points to grading or mulch piled unevenly, which is an easy fix. A flare buried uniformly all the way around is more often a planting-depth issue from day one.
The International Society of Arboriculture’s planting guidelines are a useful reference for what a correctly set flare should look like from the start — worth a look even on an established tree, since it shows exactly what you’re trying to restore. You can find that guide in ISA’s New Tree Planting resource.
What You'll Find, and What It Means
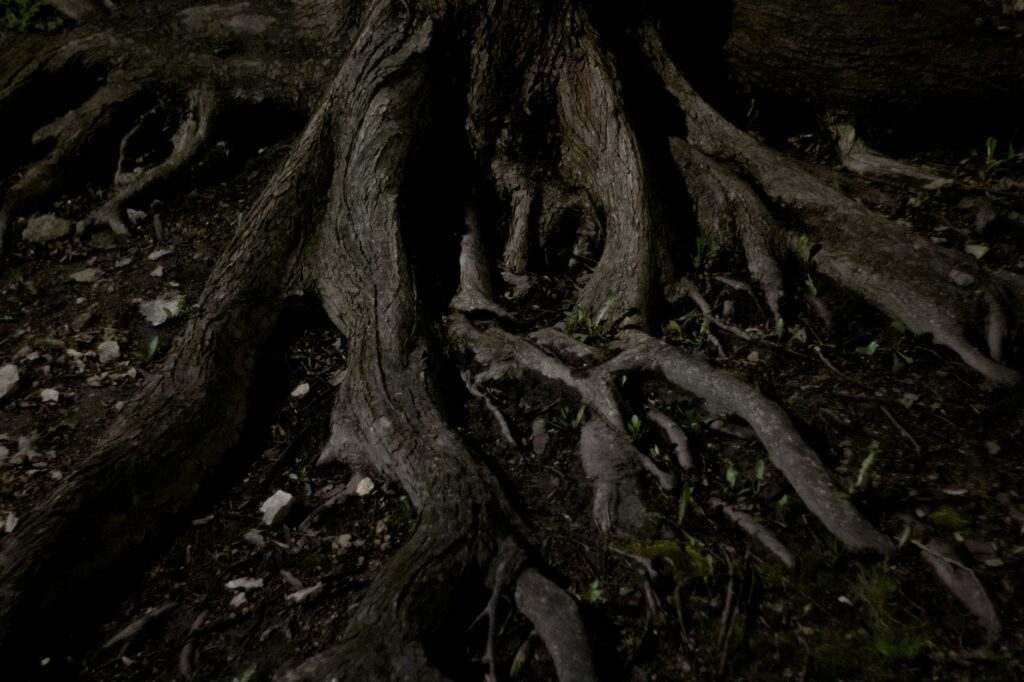
Most of the time, homeowners find one of three things once they start digging:
Just mulch. If the flare shows up cleanly once the mulch is pulled back, you’re in good shape. Keep mulch layers to 2 to 3 inches deep and always leave a few inches of bare soil right against the trunk — a mulch ring, not a mulch volcano.
Buried soil, no roots yet. If you have to remove an inch or two of actual soil (not just mulch) before finding the flare, the tree was likely planted a bit too deep originally. This is fixable with some careful hand excavation, described below.
Roots wrapping the trunk. Sometimes this check turns up something more serious — a root that has curved back and is pressing directly against the trunk instead of growing outward. These girdling roots slowly strangle the tree as both trunk and root expand and press against each other. If you find one, stop digging by hand and get a certified arborist involved; removing a girdling root incorrectly can do more harm than leaving it, especially on species like Norway maple (Acer platanoides) or littleleaf linden (Tilia cordata) that are prone to this problem.
Fixing It Yourself vs. Calling In a Pro
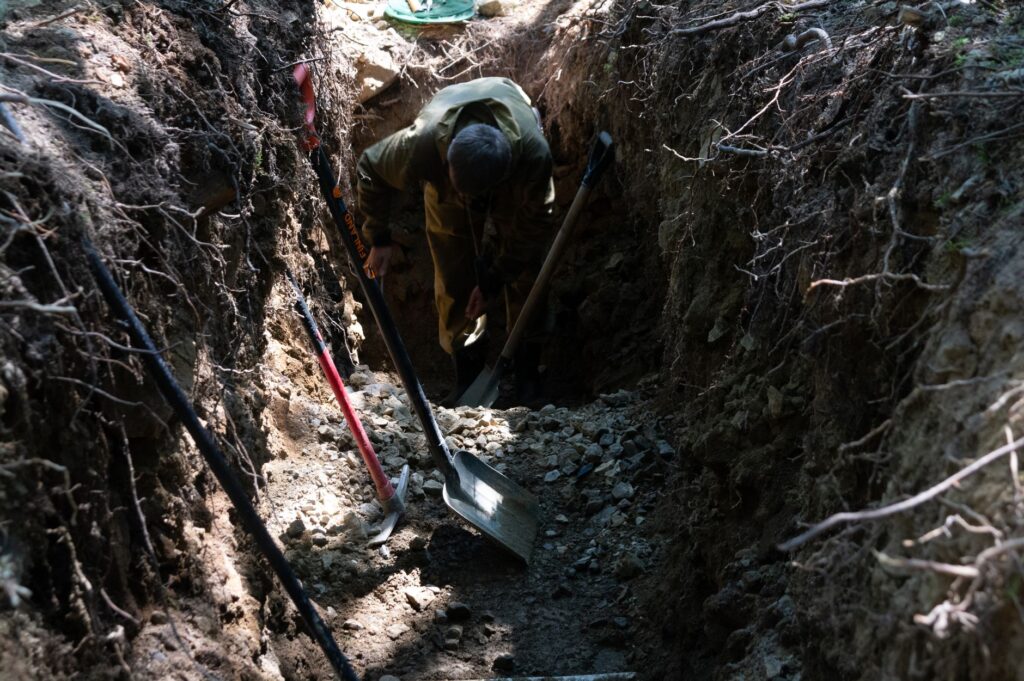
If you’re only dealing with excess mulch or an inch or two of soil over the flare, this is genuinely a DIY-friendly fix. Use a soft brush, a gentle stream of water, or your hands rather than a shovel once you get close to the trunk — the goal is to expose the flare without nicking bark or cutting fine roots. Work outward in a ring roughly to the tree’s drip line if you can, tapering the soil gradually rather than creating a steep-sided crater right at the trunk, which just creates a new place for water to pool.
Where I tell homeowners to stop and call a professional: trees that are more than 4 to 6 inches deep, mature trees with a wide, established root plate, or any situation where you’re finding significant girdling roots close to the trunk. At that point, an arborist may recommend air spading — using compressed air instead of tools to remove soil without damaging roots — which is a far more precise way to expose a root system on a tree that’s too valuable to risk.
Middletown's #1 Tree Expert Company
FREE Inspection & Estimate | Certified Arborists | Trimming, Pruning, Removal, More!
Sponsored
Make This Part of Your Fall Routine
Late summer is the right time for this check precisely because it’s low-stakes. If you find a problem now, you have all of September and October — prime fall planting and root-establishment season on the Bayshore — to correct it before winter dormancy. Newly planted trees especially deserve this five-minute look each year for their first three seasons in the ground, since that’s the window when a slightly-too-deep planting job is easiest to fix and easiest to ignore.
If your check turns up a flare buried more than a few inches, roots that seem to be circling or pressing against the trunk, or a tree that’s been declining for reasons you can’t otherwise explain, that’s worth a call to a certified arborist. A root collar problem caught early is a straightforward fix. Caught fifteen years in, it’s often the reason a mature shade tree comes down in a storm instead of standing through it.
Photo credits: Featured image by RDNE Stock project on Pexels; Section 1 by John Robertson on Pexels; Section 2 by Engin Akyurt on Pexels; Section 3 by Alfo Medeiros on Pexels; Section 4 by RDNE Stock project on Pexels; Section 5 by Plato Terentev on Pexels; Section 6 by Plato Terentev on Pexels; Section 7 by Aynur Latfullin on Pexels.