Middletown's #1 Tree Expert Company
FREE Inspection & Estimate | Certified Arborists | Trimming, Pruning, Removal, More!
Sponsored
Why the Tool in Your Hand Matters More Than You Think
Every November, garages across Middletown Township get a little quieter as the leaves come down and homeowners start eyeing the bare branches overhead. Winter is a good time to prune many trees, and with the crown open to view, it is easy to spot the crossing limb or the dead twig you could not see in July. The urge to grab whatever is hanging on the garage wall and start cutting is understandable.
That is where trouble starts. A dull, undersized or wrong type of tool does not just make the job harder. It crushes bark, tears wood and leaves ragged wounds that a tree takes years to seal. A clean cut made with the right tool closes over far more reliably than a mangled one, and that difference shows up in the tree’s health a decade later.
This guide matches the common hand tools to the branch sizes they were built for, explains what to look for when you buy or sharpen them, and draws a clear line around the jobs that belong to a certified arborist. It is meant for small, reachable branches only, and it pairs well with a quick walk-through of your trees before you cut anything.
Hand Pruners: For Twigs and Small Stems
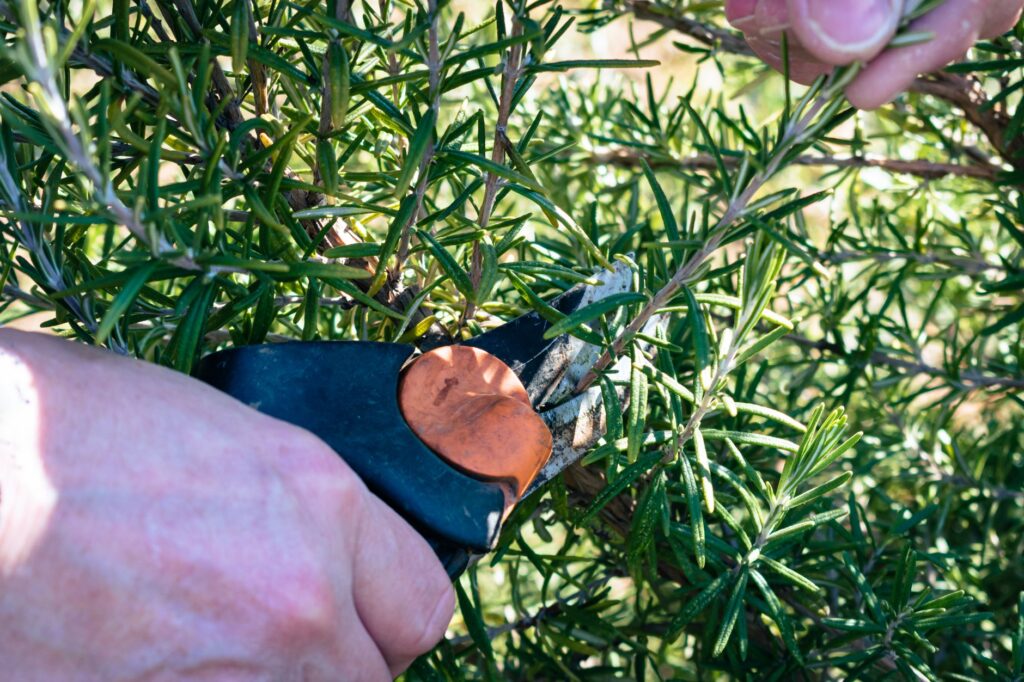
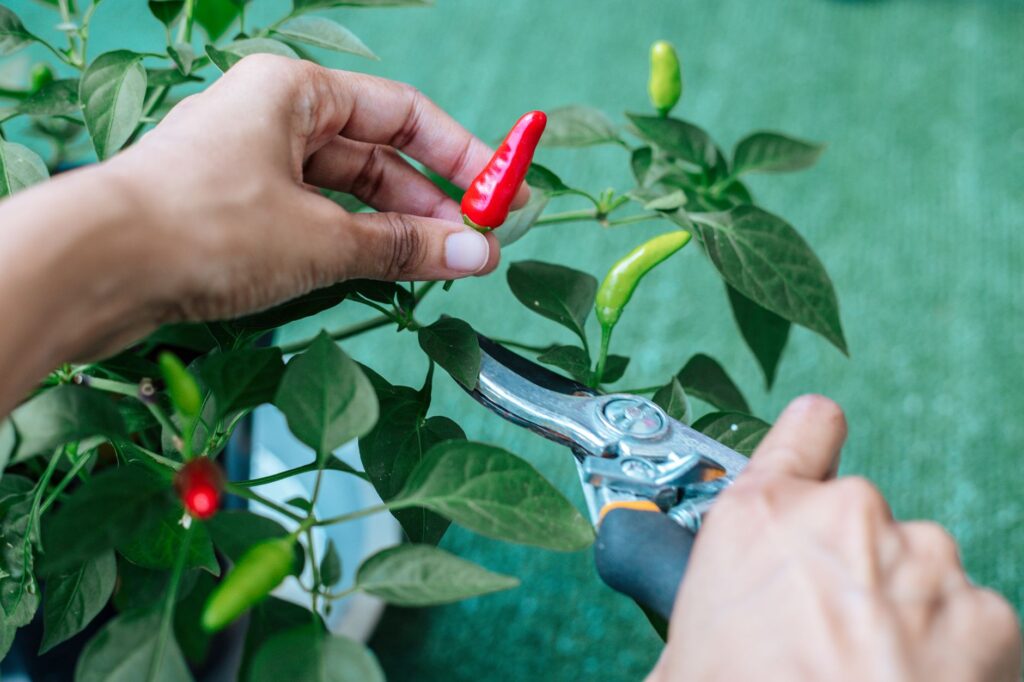
Hand pruners, sometimes called secateurs, handle the smallest work: twigs, suckers and stems up to roughly the thickness of a pencil or a little more. Most quality pruners are rated for about three quarters of an inch, and trying to force them through anything thicker is how handles get bent and blades get sprung.
Choose the bypass style, where two curved blades pass each other like scissors, rather than the anvil style, where a single blade closes onto a flat surface. Bypass pruners make a clean slice through living wood. Anvil pruners tend to crush, which is acceptable on dead, dry wood but poor on a healthy branch you want to heal.
Rutgers Cooperative Extension describes the two basic cuts, heading and thinning, in its guide to pruning flowering shrubs, and the same fact sheet recommends disinfecting tools between cuts and skipping wound dressings. Those habits apply just as well to the small stems on young ornamental trees.
- Cut just above a bud or branch, never leaving a long stub.
- Keep the cutting blade on the side of the wood you are keeping.
- Wipe blades with rubbing alcohol after any cut on diseased wood.
If your pruners need two hands and a grunt to close, the branch is too big for them. Switch tools instead of forcing it.
Loppers: Extra Leverage Up to About an Inch and a Half
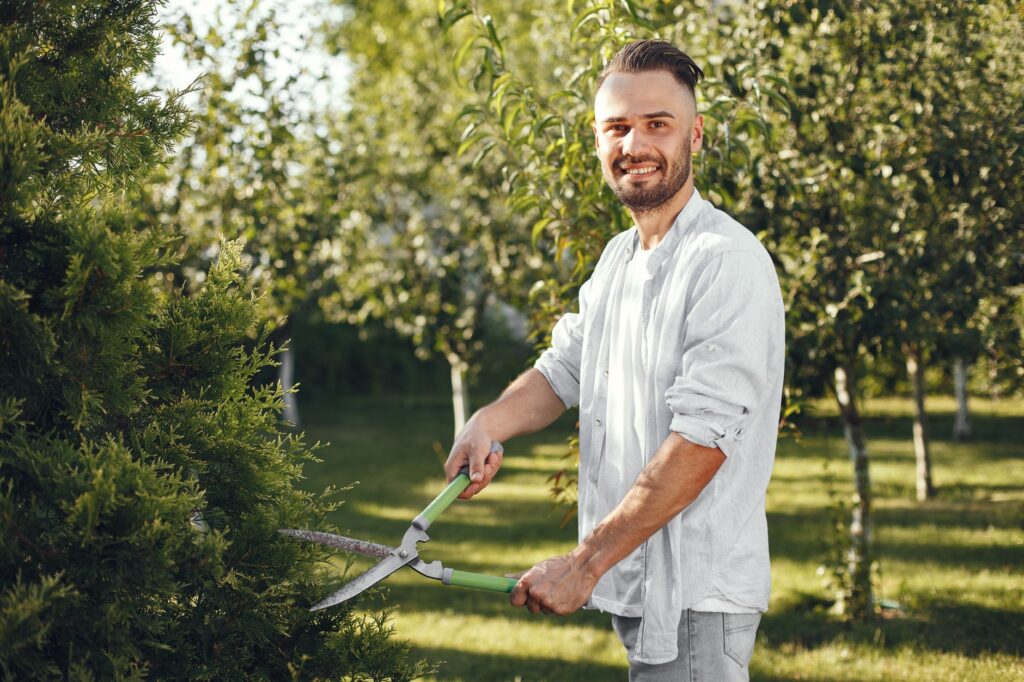
Loppers are essentially pruners with long handles, and the extra leverage lets them cut branches roughly one to one and a half inches across, depending on the model. They are the right choice for the thicker suckers around the base of a crabapple, the stiff stems of an overgrown shrub, and low limbs on a young tree that have started to cross or rub.
The same bypass-versus-anvil rule applies. A bypass lopper leaves a smoother wound on live wood. Ratcheting loppers, which cut in stages as you squeeze, are worth a look if you have limited hand strength, because they let you tackle a thicker branch without lunging at the handles.
Technique matters as much as the tool. Open the blades fully, seat the branch deep in the jaws rather than at the tip, and cut in one smooth squeeze. If the lopper binds halfway through, stop, back it out and finish with a saw. Twisting or rocking a stuck lopper is how blades chip and, more often, how people pinch their fingers or lose their balance on a ladder.
Remember that loppers still work best on branches you can reach comfortably from the ground. Needing a step stool to reach a cut is a signal to slow down and rethink the plan.
Middletown's #1 Tree Expert Company
FREE Inspection & Estimate | Certified Arborists | Trimming, Pruning, Removal, More!
Sponsored
Pruning Saws: The Right Answer for Anything Thicker
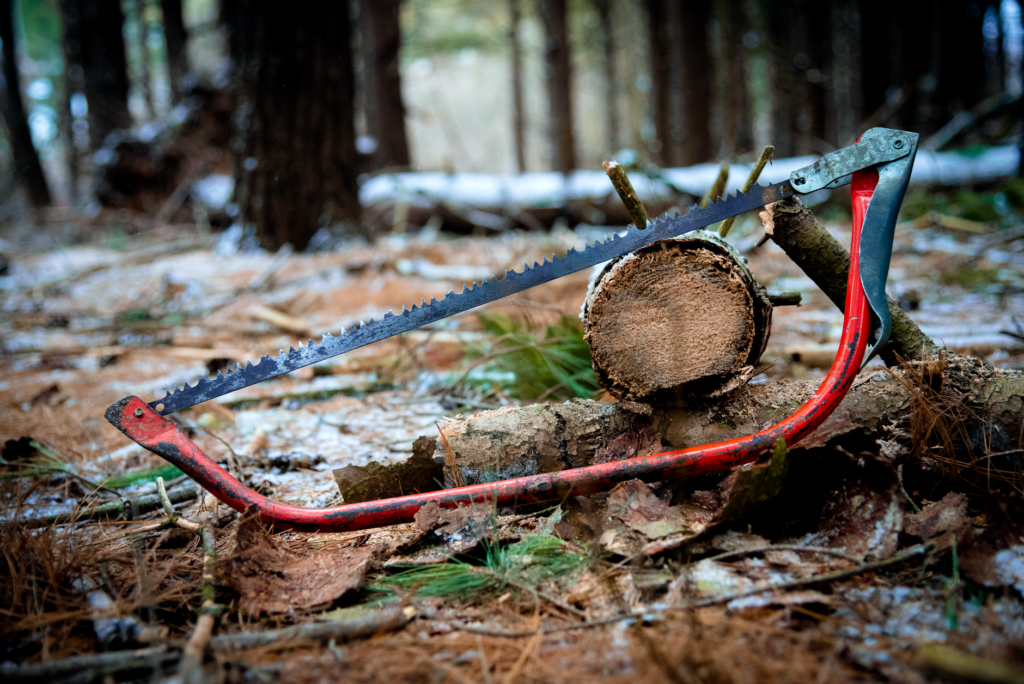
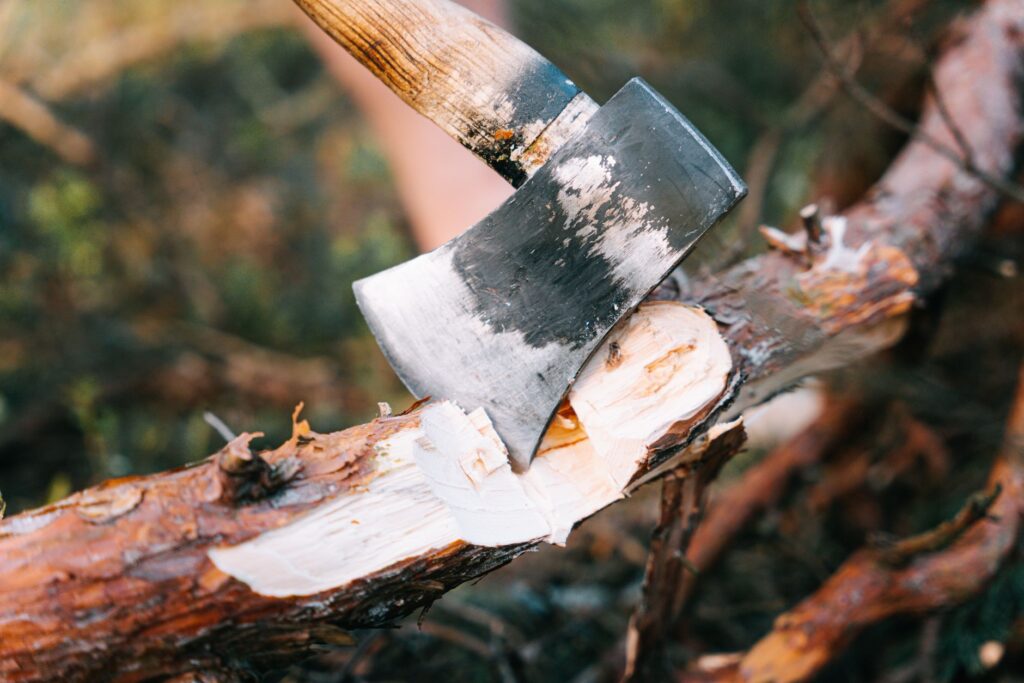
Once a branch is thicker than loppers can handle comfortably, a hand pruning saw is the correct tool, and most homeowners can safely use one on limbs up to about three or four inches across, provided the cut is low, the limb is light and nothing is under tension. A curved pruning saw with a pull-stroke cut is the usual favorite because it cuts on the pull, which gives better control than a push-stroke carpentry saw.
Look for a blade with aggressive, hardened teeth that stay sharp through green wood. A folding saw is convenient for a pocket or toolbox, while a fixed-blade saw in a sheath is sturdier for bigger jobs. Whichever you pick, keep the blade clean, since pitch and sap build up quickly and make the saw bind.
The International Society of Arboriculture’s consumer site, Trees Are Good, explains where on the branch each cut belongs and why you should not cut flush against the trunk or leave a long stub. The short version is to cut just outside the branch collar, the slightly swollen ring where a branch meets the trunk, so the tree can wall off the wound on its own.
For any branch heavy enough that it could split or drop on you when the cut is nearly through, the standard three-cut method keeps the bark from stripping down the trunk. If you are not sure how to set it up, the branch is probably heavier than a DIY job should be.
Pole Pruners and Ladders: Where Good Intentions Get Risky
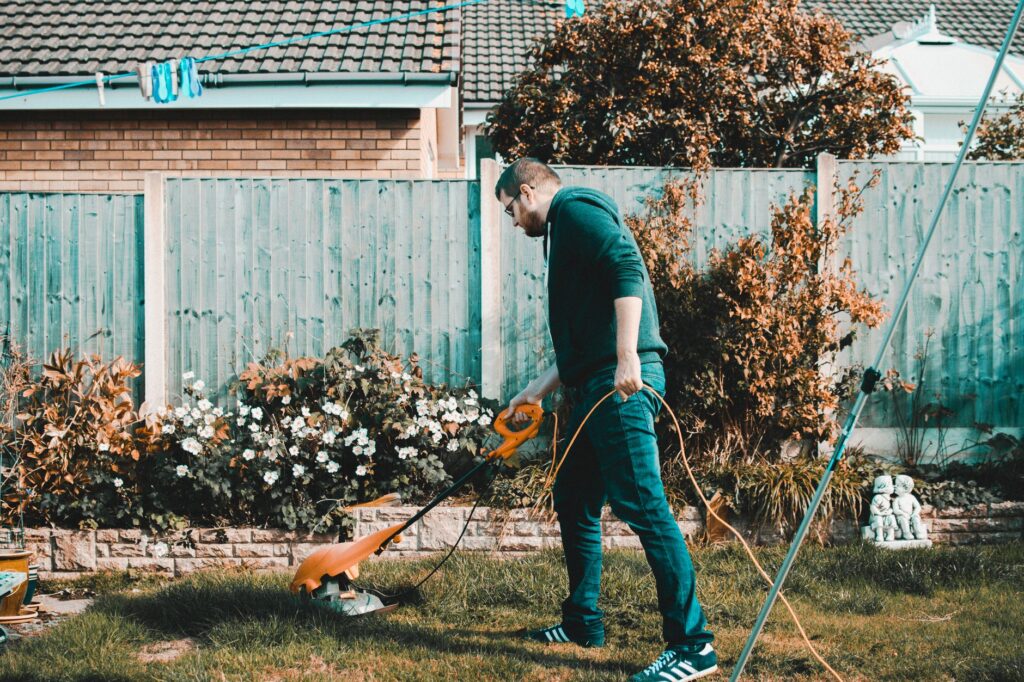
Telescoping pole pruners and pole saws are popular because they let you reach limbs that are higher than you can stretch. Used from the ground, on small branches with a clear drop zone, they can be a reasonable tool. The risks climb quickly with every extra foot of reach.
The biggest concern is overhead lines. Many streets in Middletown, and in the Bayshore neighborhoods especially, have trees growing straight through or beside utility wires. A metal or even a wet fiberglass pole can be dangerous near a line, and pruning anything close to power conductors is work for utility-approved line-clearance crews, never a homeowner. Keep your tools and your body well away from any wire, and call the utility or a qualified professional if a limb is near one.
Ladders add a second hazard. Falls from ladders while pruning are a leading source of homeowner injuries, and a ladder placed on soft, leaf-covered or frosty ground is especially unstable. A good working rule is that if the cut requires you to leave the ground, hold a saw above shoulder height or lean away from the ladder, it is time to stop.
Chainsaws deserve the same caution. They are built for felling and bucking, not for overhead pruning, and using one above shoulder height is among the most dangerous things a homeowner can do.
Keeping Tools Sharp, Clean and Ready for Winter
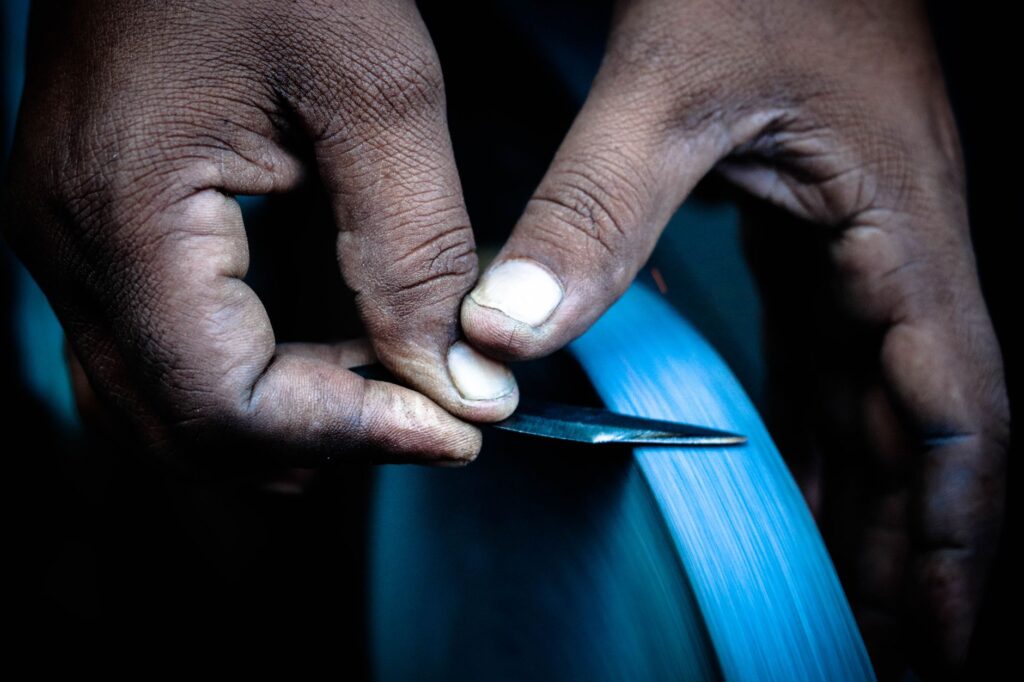
A pruning tool earns its keep through maintenance. Dull blades tear fibers and leave wounds that heal slowly, and they also tempt you to push harder, which is when slips happen. A few minutes with a sharpening stone or diamond file at the start of the season pays for itself in cleaner cuts and safer work.
Wipe blades after each use and dry them before storage so rust does not pit the edge. A light coat of oil on the pivot keeps pruners and loppers moving freely. If you have cut out diseased wood, such as a limb with cankers or fire blight, disinfect the blades before moving to the next plant so you do not carry the problem with you. Rubbing alcohol works for quick wipes between cuts, as the Rutgers fact sheet on pruning flowering shrubs points out.
- Sharpen the beveled edge only, following the factory angle.
- Tighten pivot bolts so blades meet without wobble.
- Store tools dry, with blade guards or sheaths in place.
It also helps to match the timing to the plant. Many deciduous trees are pruned in the dormant season, from late fall through late winter, but spring-flowering trees and shrubs lose their blooms if cut now. When in doubt about timing for a particular species, wait and check before you cut.
Middletown's #1 Tree Expert Company
FREE Inspection & Estimate | Certified Arborists | Trimming, Pruning, Removal, More!
Sponsored
When to Put the Tools Down and Call a Certified Arborist
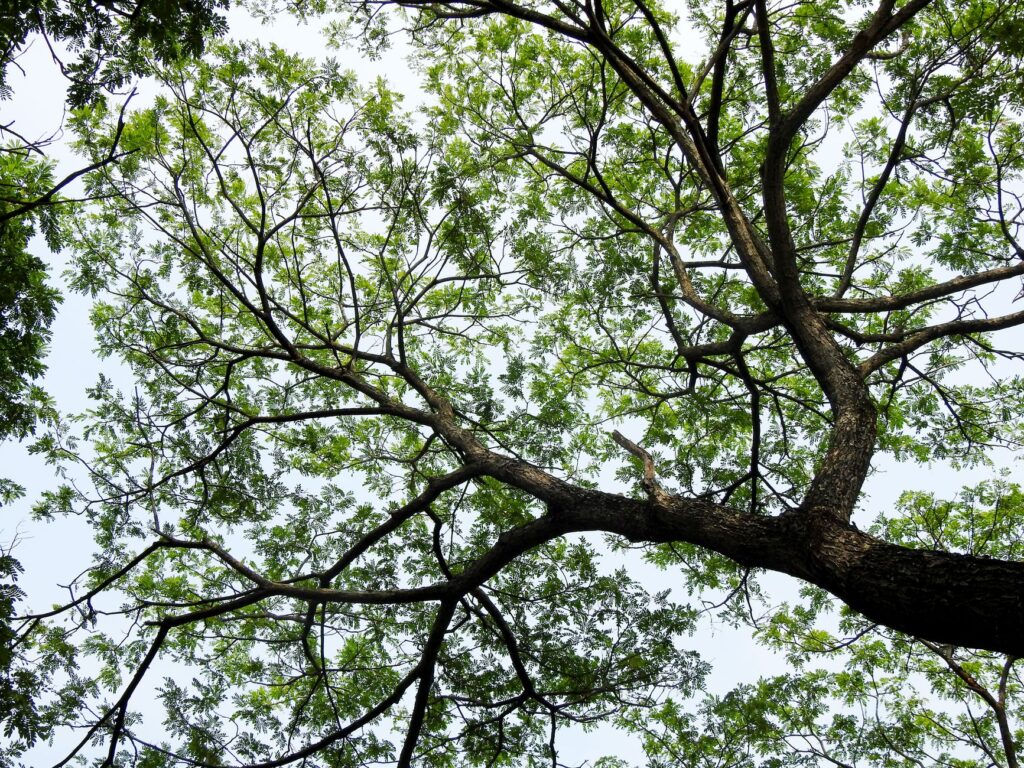
Hand tools are the right answer for small, low and light branches. They are the wrong answer for anything that is large, high, near a structure or wire, or that involves a tree you are worried about. A limb over three or four inches thick, a split in a trunk, a cavity, a leaning tree or deadwood hanging over a roof, driveway or play area deserves a professional look before any cutting starts.
The same goes for the quantity of pruning. Rutgers Cooperative Extension notes in its guide to hiring a tree care professional that proper pruning should not remove more than about a quarter of a tree’s branches in a given year. Heavy cutting stresses a tree, and a first-time pruner with a sharp saw can easily overdo it.
A certified arborist can judge structure, choose the right cuts and do the work with proper rigging, insurance and safety gear. Ask to see an ISA certification and proof of insurance, and be wary of anyone who suggests topping a tree, which means chopping the main limbs back to stubs. Topping weakens the tree and rarely makes it safer in the long run.
So this winter, go ahead and tidy the small stuff with the right hand tool for each branch. Leave the big, high or hazardous cuts to a certified professional, and your Middletown trees will thank you for years to come.
Photo credits: Featured image by Nikolett Emmert on Pexels; Section 1 by Prathyusha Mettupalle on Pexels; Section 2 by Gustavo Fring on Pexels; Section 3 by Ivan S on Pexels; Section 4 by Lauren Hedges on Pexels; Section 5 by Lisa Fotios on Pexels; Section 6 by Raghav Modi on Pexels; Section 7 by Sharath G. on Pexels.