

Middletown's #1 Tree Expert Company
FREE Inspection & Estimate | Certified Arborists | Trimming, Pruning, Removal, More!
Sponsored
The Watering Bag Question Every November
If you planted a tree in Middletown Township this year, there is a good chance a green or tan watering bag is still wrapped around its trunk. Those slow-release bags do a fine job in July, when a young tree needs a steady trickle at the root ball. By November, with the leaves down and the first hard freeze behind us, the same bag raises a fair question: do I keep filling it, empty it, or take it off?
The honest answer is that it depends on the weather in the next few weeks, the age of the tree, and what is happening inside the bag. A bag left full and forgotten through a Monmouth County winter can cause more trouble than it prevents, while a tree that goes into the freeze bone dry has its own problems.
This guide walks through what a watering bag actually does, how to read the soil, when to shut the system down for the year, and what to do with the bag itself. None of it takes tools beyond a garden trowel, and most of it takes ten minutes on a mild afternoon.
What a Watering Bag Does, and What It Does Not
A watering bag is a zippered ring of heavy plastic with tiny holes near the bottom. You fill it with a hose, and over five to nine hours it seeps water straight onto the root ball. That slow seep is the whole point. A young tree has a small root system packed into a compact ball of soil, and slow water soaks in rather than running off the surface of our clay-loam yards.
What the bag cannot do is judge how much water is needed. It delivers the same amount whether the soil underneath is parched or already soggy. That is why bags work best as a tool you control, filling when the soil says so, and why they become a problem when they run on autopilot.
The ISA guidance on watering trees makes the same point from the research side: young trees need consistent moisture for the first couple of years, but the right schedule follows weather and soil rather than a calendar. In a wet October the bag is mostly redundant. In a dry one, it is a lifeline.
How to Check the Soil Before You Fill Anything
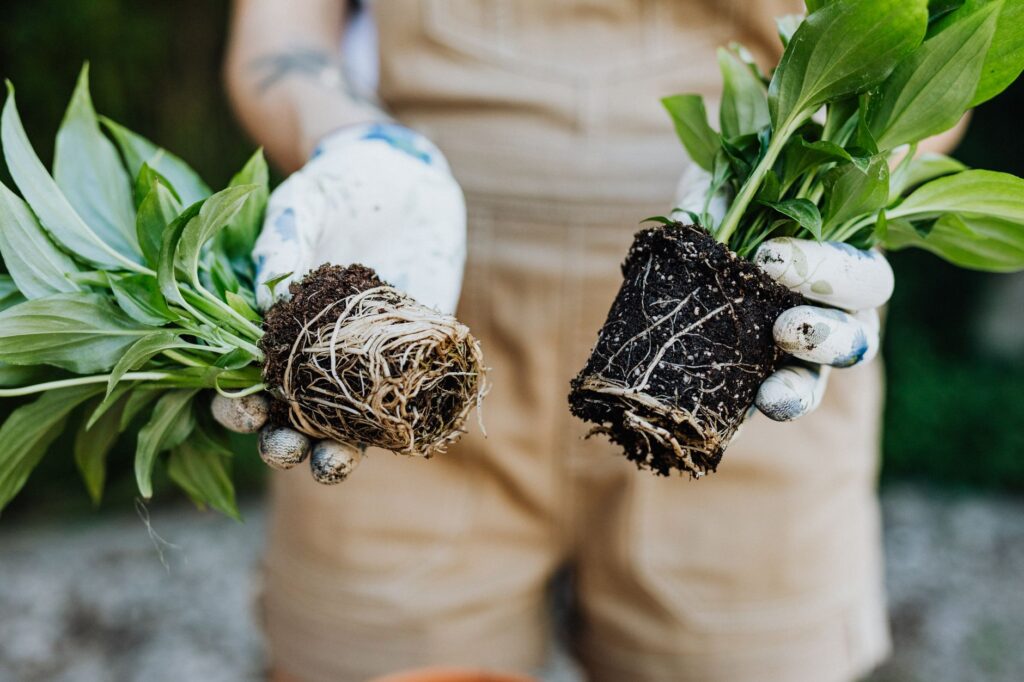
The simplest test is the one arborists use in the field. Push a trowel or a long screwdriver into the soil beside the root ball, about four to six inches down, and look at what comes out. Soil that crumbles and will not hold a shape is dry. Soil that squeezes into a ball and leaves a little moisture on your fingers is right. Soil that is glossy, smells sour, or drips when squeezed is too wet, and the bag stays empty.
Check two spots: just outside the original planting hole, and a foot or so beyond it. Roots of a one- or two-year-old tree are only beginning to reach into the surrounding yard soil, and the two spots can behave very differently. Many Middletown lots have fill or compacted subsoil from building, so the native clay a few feet away may hold water the root ball never feels.
Do this check every week or so until the ground freezes. It takes a minute and replaces guessing. If the weather has been dry for ten days and the soil is crumbly, one good fill is worth it. If it has rained twice, skip it.
Middletown's #1 Tree Expert Company
FREE Inspection & Estimate | Certified Arborists | Trimming, Pruning, Removal, More!
Sponsored
When to Make the Last Fill of the Year
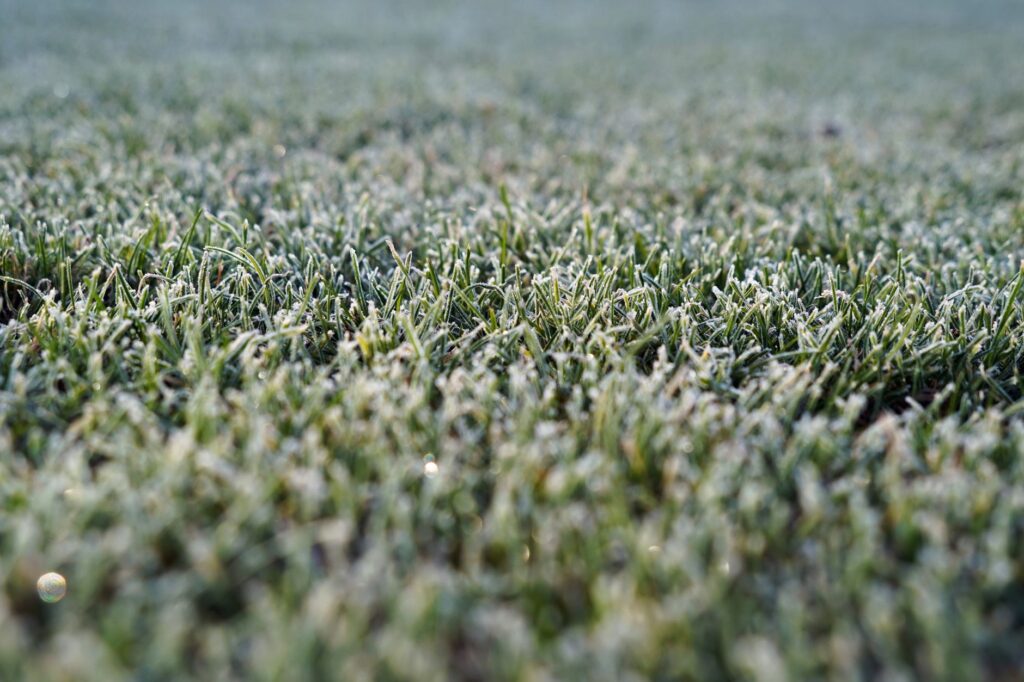
- Fill the bag only if the soil test shows dry conditions in the top six inches.
- Make the last fill while nighttime temperatures are still staying above freezing, usually by late November in our area.
- Stop filling once the ground begins to freeze at the surface, since water that cannot soak in will pool and refreeze.
- Never leave a full bag to freeze solid against the trunk.
Trees take up water as long as the soil is not frozen, even after the leaves are gone. A fall that stays dry and ends in a freeze leaves evergreens and newly planted trees at risk of winter desiccation, and the guidance for newly planted trees recommends a deep soaking before the ground locks up. That is the purpose of the last fill.
After that final fill, let the bag drain completely. Do not walk away from a bag with two gallons still sitting in it. Water that freezes inside the plastic expands, splits seams, and can press ice against bark on a cold night. Empty bags go on the tree only while they are drained and open.
For most Middletown yards, the sequence is simple: last deep soak in mid to late November if the weather has been dry, then drain, then retire the bag for the winter.
Taking the Bag Off the Trunk for Winter
Once you have made the last fill, the next decision is whether the bag stays on. Our recommendation, and the one most arborists share, is to take it off. A bag left on all winter holds moisture against the bark, shelters insects and rodents, and traps heat on sunny winter days. The thin bark of a young maple, linden, or cherry is especially prone to sunscald and frost cracking, and a plastic collar makes both worse.
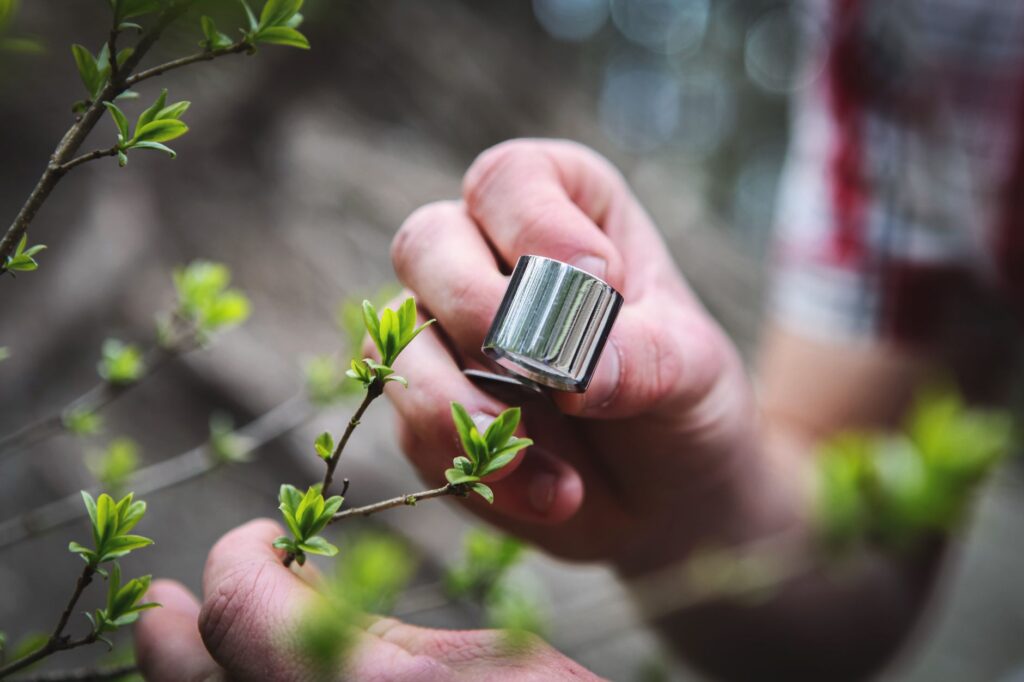
Unzip the bag, wipe any mud from the trunk, and look at what is underneath. You are checking for three things: bark that is soft, damp, or peeling, ties or stakes that have started to cut in, and any gnawing near the soil line. If you see any of them, a certified arborist can tell you quickly whether it matters.
Shake the bag out, let it dry, and store it indoors. Most last several seasons if kept out of the sun and away from freezing temperatures. Folding them wet invites mold, so give them a day on the garage floor first.
Mulch, Stakes, and the Rest of the Late-Fall Checklist
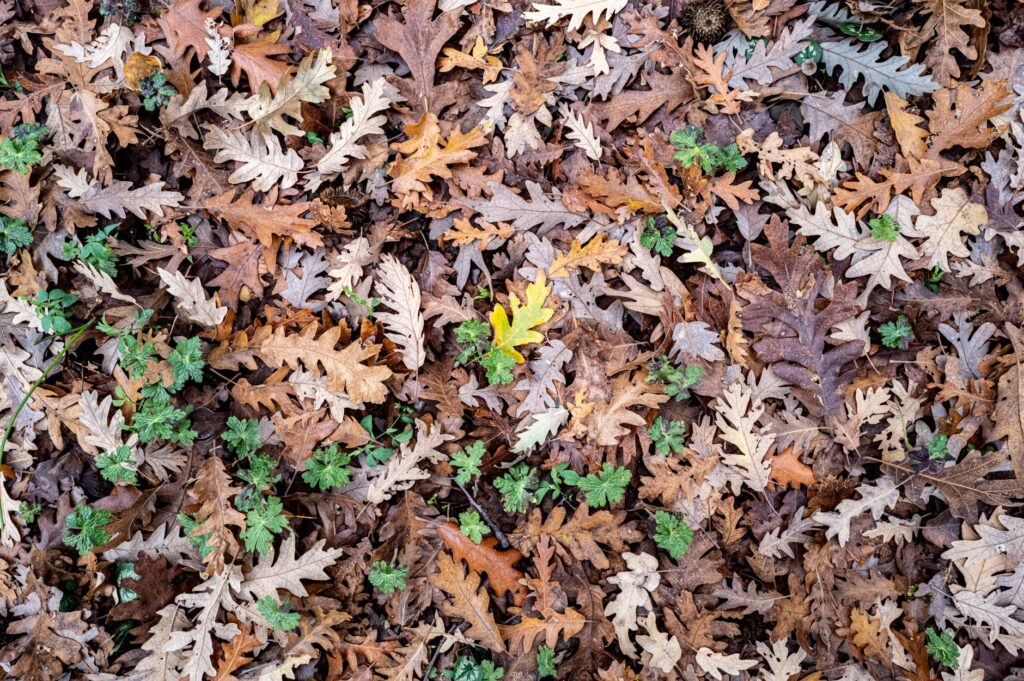
While the bag is off, take ten more minutes to look at the rest of the tree setup. A two- to three-inch layer of shredded hardwood mulch, spread out to the drip line and pulled back from the trunk, helps the soil hold steady temperatures through the winter. The ISA mulching guide describes the right depth and shows why a pile against the trunk, the so-called volcano, invites decay and rodents.
Next, check the ties. Any strap or wire holding the tree to a stake should be loose enough that the trunk can sway a little. Rubbing and girdling start quietly and tighten as the trunk grows. If the tree has been in the ground more than a year, it likely no longer needs the stakes at all.
Finally, look for the root flare, the point where the trunk widens just above the roots. If you cannot see it, soil or mulch has been piled too high. Pulling it back to expose the flare is one of the best things you can do for a young tree in Middletown, where deep planting is a common issue.
If anything looks wrong, such as lean, dieback, or a trunk wound, photograph it and note the date. Those photos make a visit from an arborist faster and more useful.
Middletown's #1 Tree Expert Company
FREE Inspection & Estimate | Certified Arborists | Trimming, Pruning, Removal, More!
Sponsored
When to Call a Certified Arborist
Most of what is described above is homeowner work. The watering, the soil check, the removal of the bag and the mulch adjustment are all things a careful person can do without risk. What calls for a professional is anything that goes beyond routine, such as a leaning trunk, bark that is cracking or peeling in sheets, a split at the crotch of two stems, or a tree that failed to leaf out fully this year.
A certified arborist can tell you whether a struggling tree is worth saving, whether a structural pruning visit will help it, and whether a problem is the tree or the site. You can look up credentialed arborists through the International Society of Arboriculture and confirm that anyone you hire carries a New Jersey tree expert license and insurance.
For the average young tree, though, the plan for the next few weeks is simple. Test the soil, give one last deep soak if it is dry, drain and remove the bag, check the mulch and the ties, and let the tree go dormant. Done on a mild Saturday, it sets a new Middletown tree up for a strong first spring.
Photo credits: Featured image by Max Vakhtbovych on Pexels; Section 1 by Mike van Schoonderwalt on Pexels; Section 2 by luiz carlos reis e silva on Pexels; Section 3 by https://kaboompics.com/ on Pexels; Section 4 by Tom Van Dyck on Pexels; Section 5 by Ron Lach on Pexels; Section 6 by Anthony Rahayel on Pexels; Section 7 by Andreas Schnabl on Pexels.